


Welcome to this week's Plan with Me! If you're looking for inspiration for a Happy Planner weekly spread, look no further! This week (Week #4) I bring to you the August 1st weekly spread - Lavender and Mint; beautiful pastels that go well together; as well as a free PDF printable of the stickers I used in this theme. If you decided to use this, or like the theme please drop me a comment!
I experimented with different theme ideas, including "magenta, orange and blue" but that felt a bit too bold for me.

Interested in downloading the planner stickers from this Mint and lavendar theme? Click the banner below:


Supplies:
- Color printer
- Scissors or Paper Trimmer (to cut straight lines)
- School Glue
- Washi Tape (Lavender and Green)
- Stickers
- Sticky Notes for the side bar
If you own a sticker sheet, you can cut right onto a sticker sheet and then use scissors or Xacto knife to cut around the stickers.
Step 1: Creating Ombre To Do Lists & Graphics
I decided to create my own Ombre "To Do Lists" in Photoshop this time around. I also collected pretty graphics from Pinterest and WeHeartIt (click thumbnails to enlarge):


Step 2: Print & Cut Out Graphics


Step 3: Glue/Stick Graphics
I used regular dollar store Elmer's School Glue to paste these babies onto my planner sheet.


I decided to alternate the placement of the stickers and ombre "to-do lists" to create a nice eye-pleasing pattern.

Step 4: Apply Washi Tape
Next I selected several washi tape colours, including various shades of purple and green.


A neat design trick I really enjoy using is putting a different shade of washi tape over top, creating a double layer effect. This looks really classy!

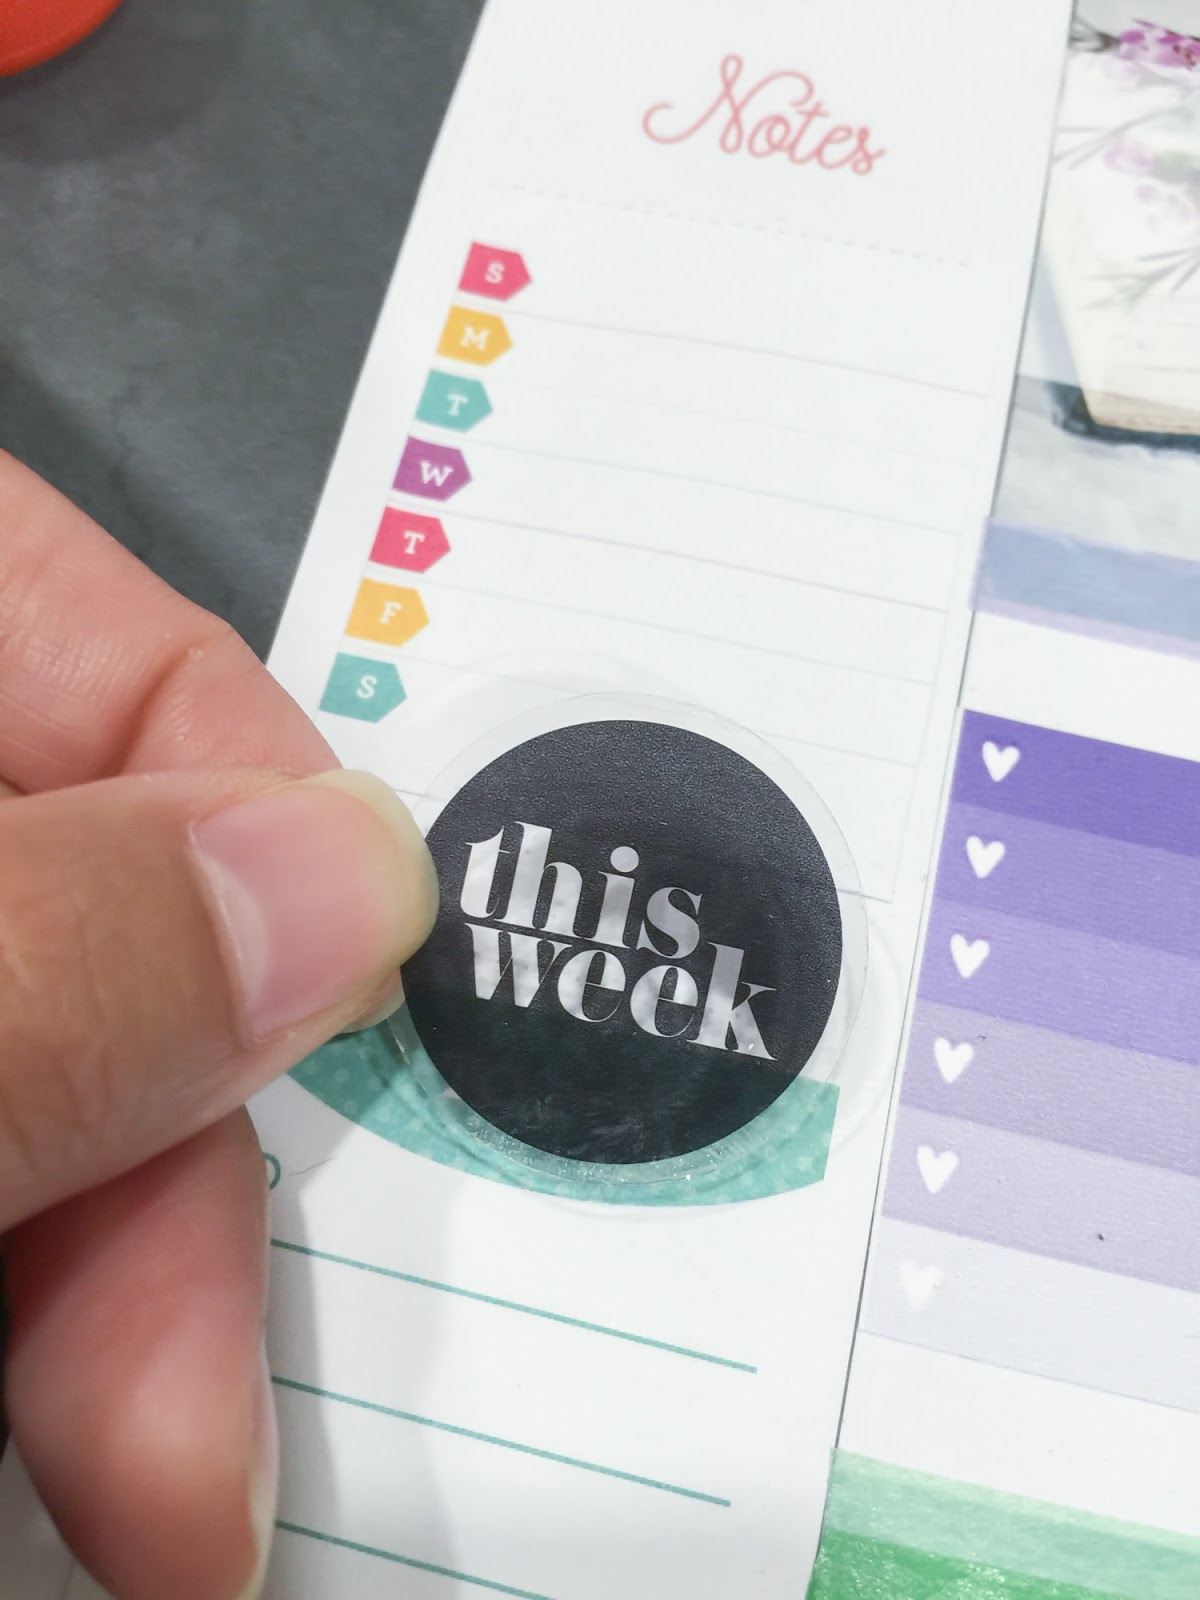
Step 4: Add Little Washi Flags
Simply cut a small triangle on one end of a short piece of washi. I like applying these over the top.

Step 5: Add your stickys to your weekly sidebar:
I like adding the sidebar since it allows me to write my week's goals and different projects I am working towards.


Step 6: Add any event stickers to the week:
My week consists of a doctor's appointment as well as a co-worker's birthday.

I had an extra clear sticker, so I thought, why not? "Best Day Ever!"

The Final Product


And what it looks like filled out:

No comments:
Post a Comment